3D Printing Module - 7-Day Learning Plan
Day 1: Basics of 3D Printing
Understanding 3D Printing Fundamentals
Learn what 3D printing is (additive manufacturing) and study types of 3D printing with focus mainly on FDM since it's most common for beginners.
Printer Components:
- Frame - Structural support for the printer
- Bed - Surface where printing occurs
- Extruder - Pushes filament through the hotend
- Nozzle - Heats and deposits melted filament
- Filament - Printing material (usually PLA, ABS, etc.)
- Stepper Motors - Precise movement control
- Control Board - Brain of the 3D printer
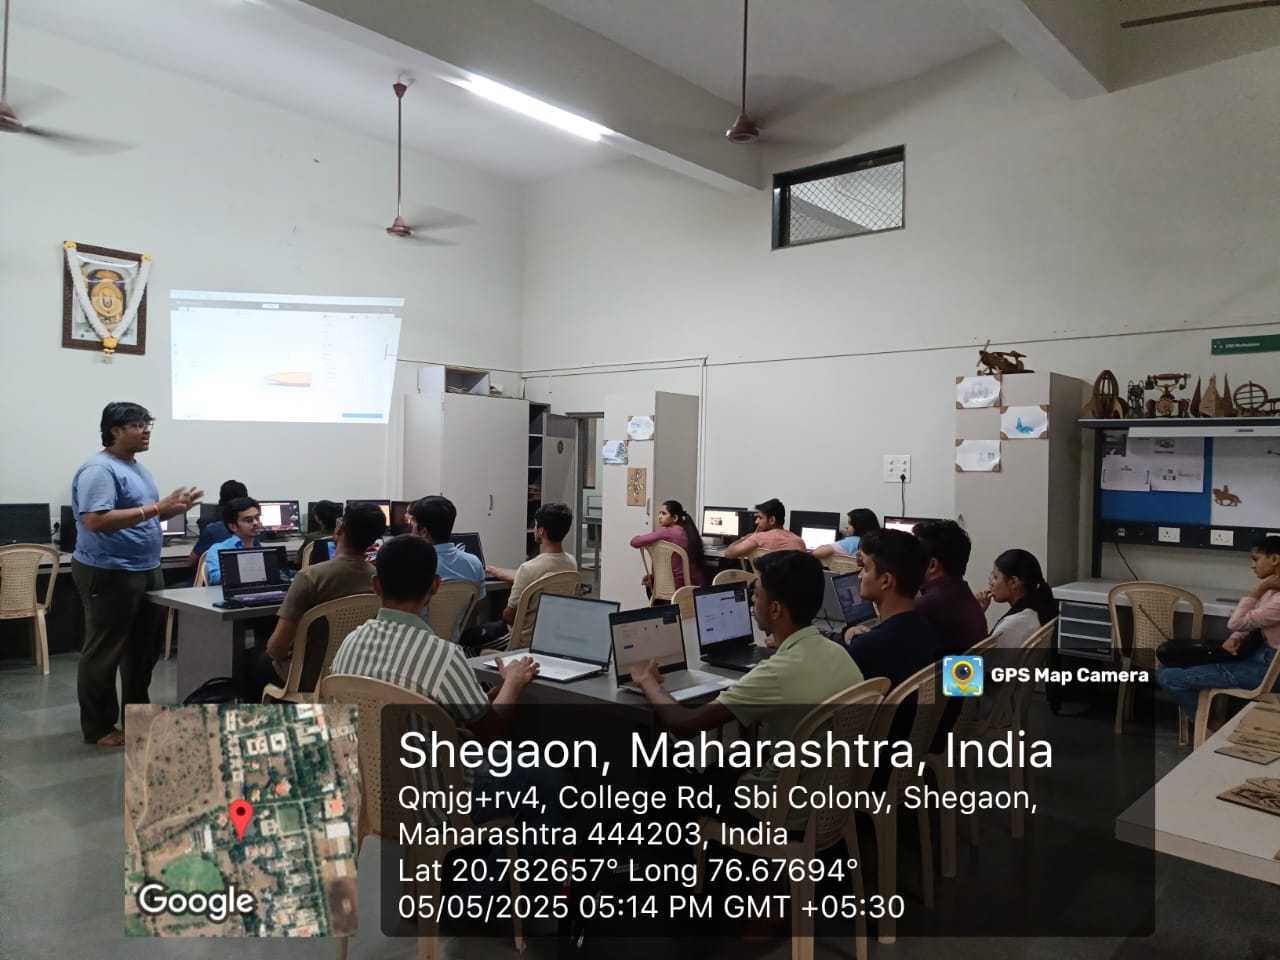
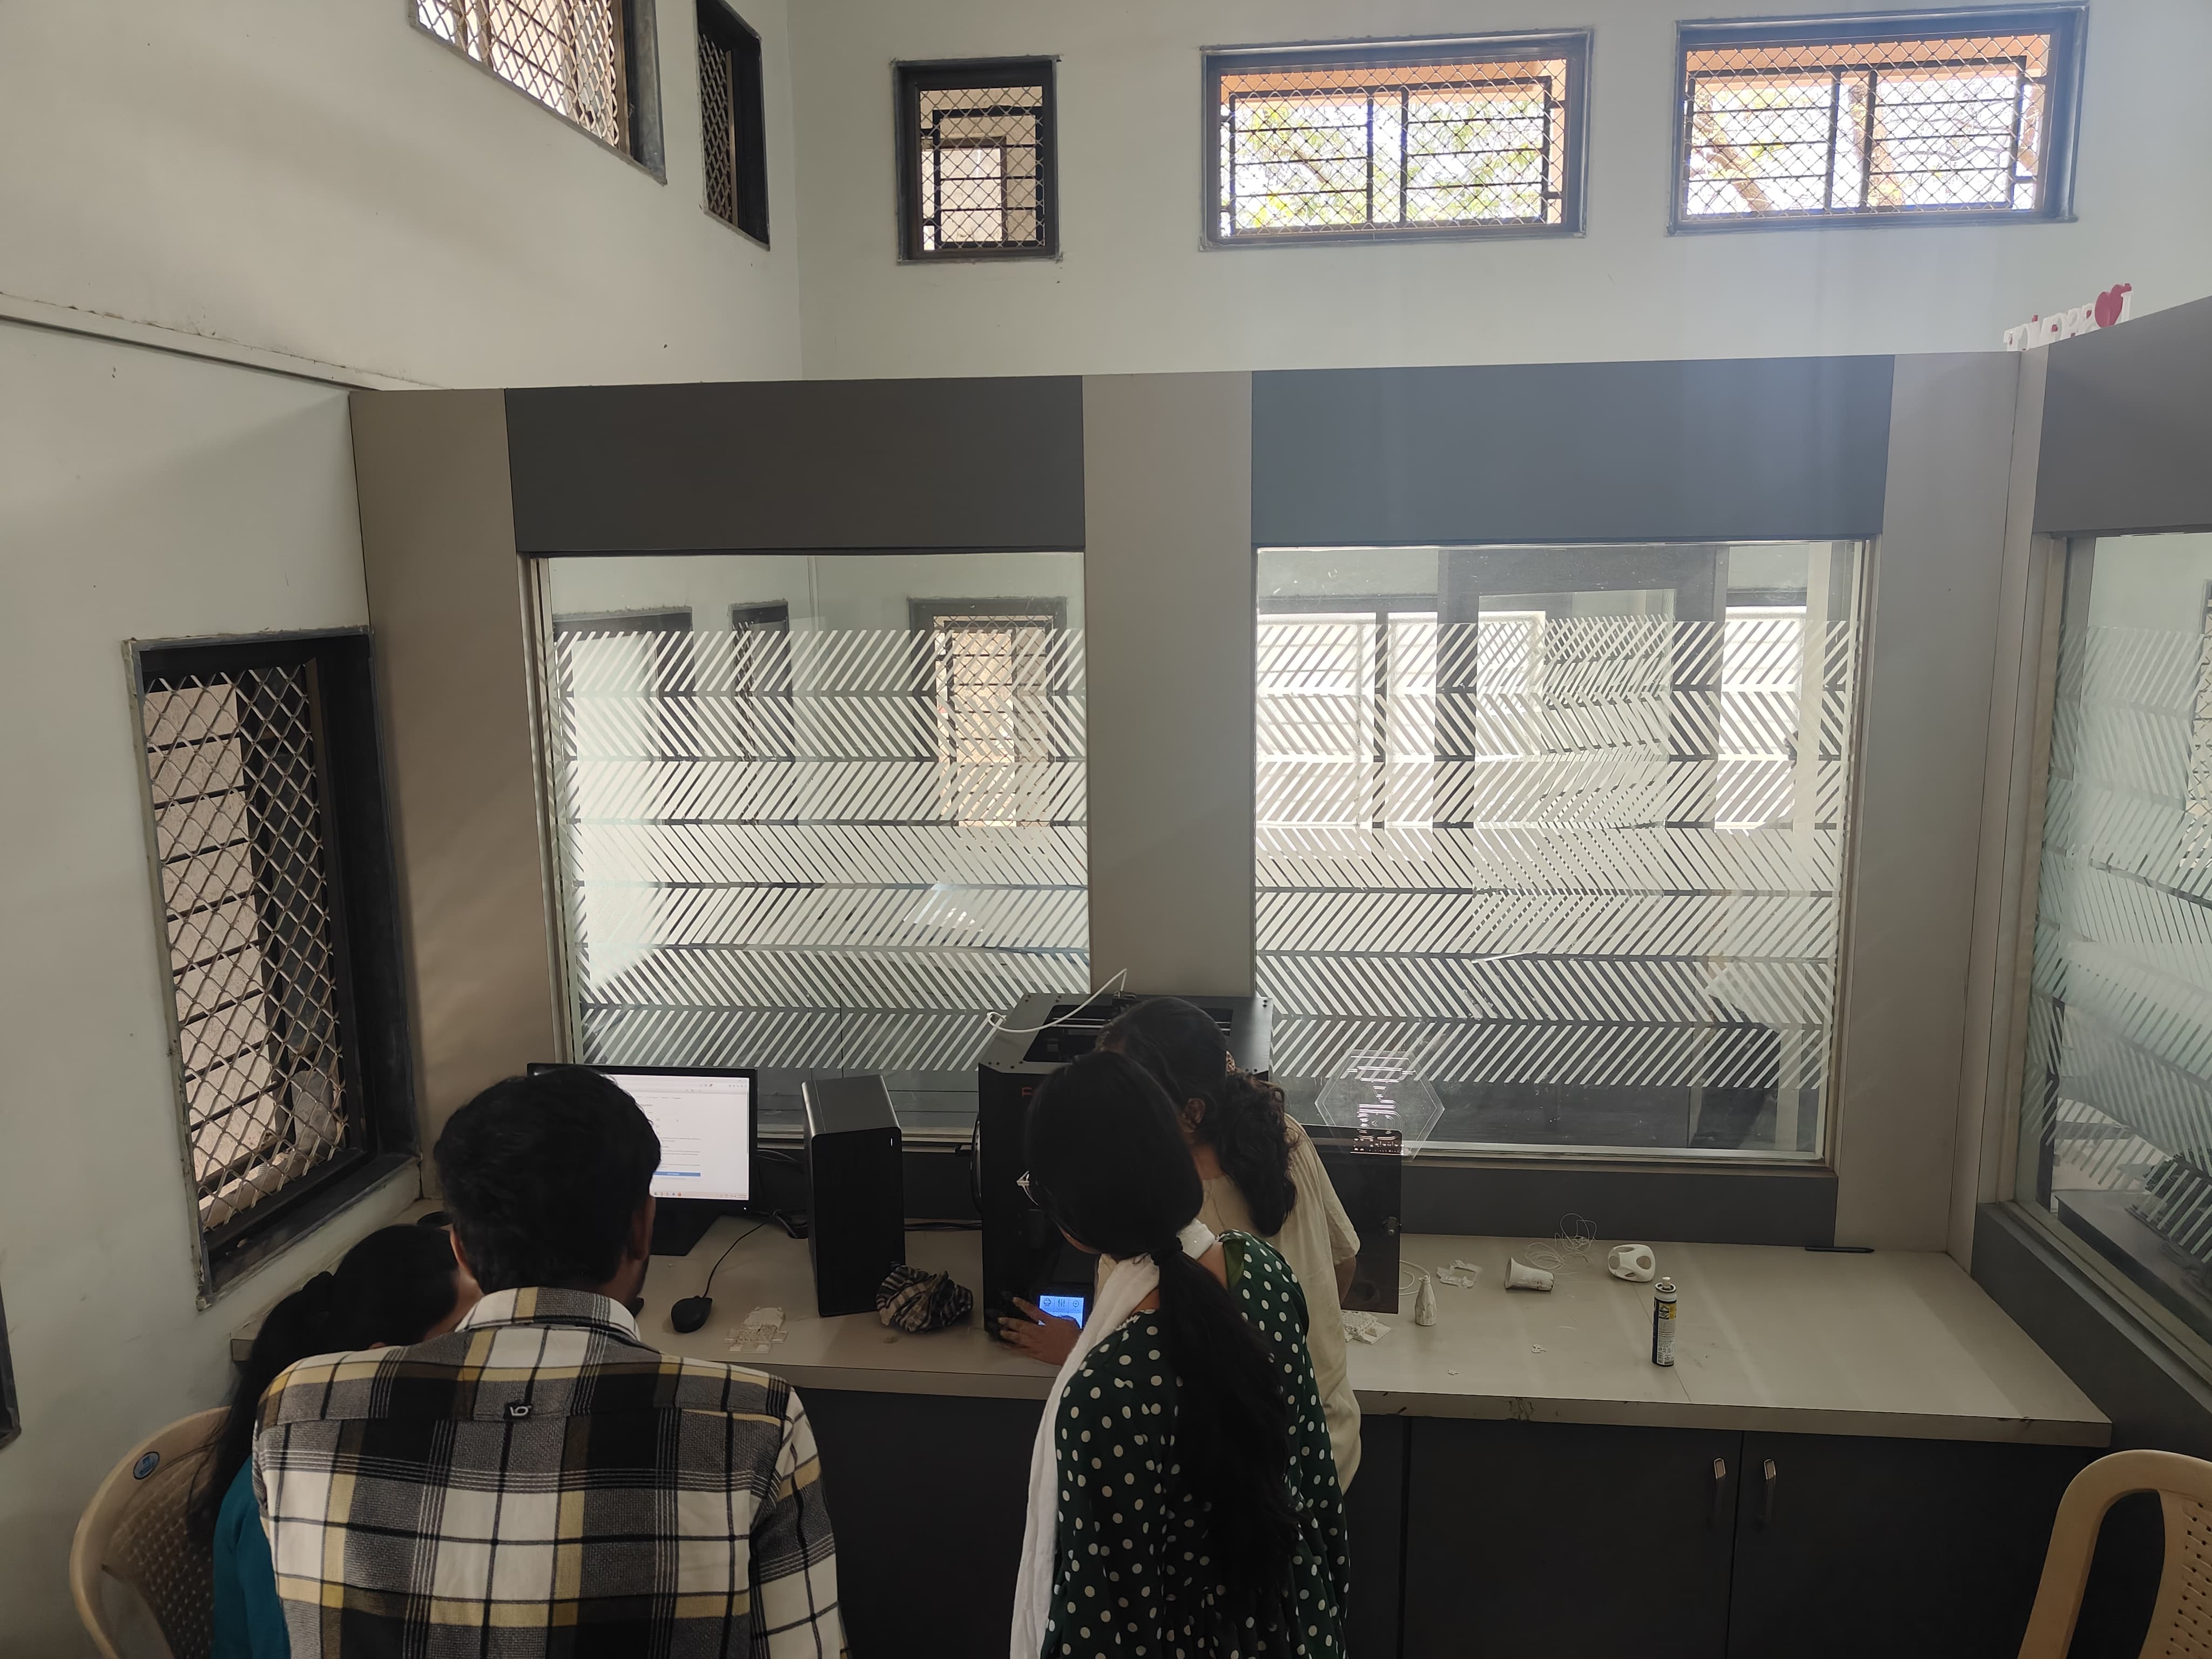
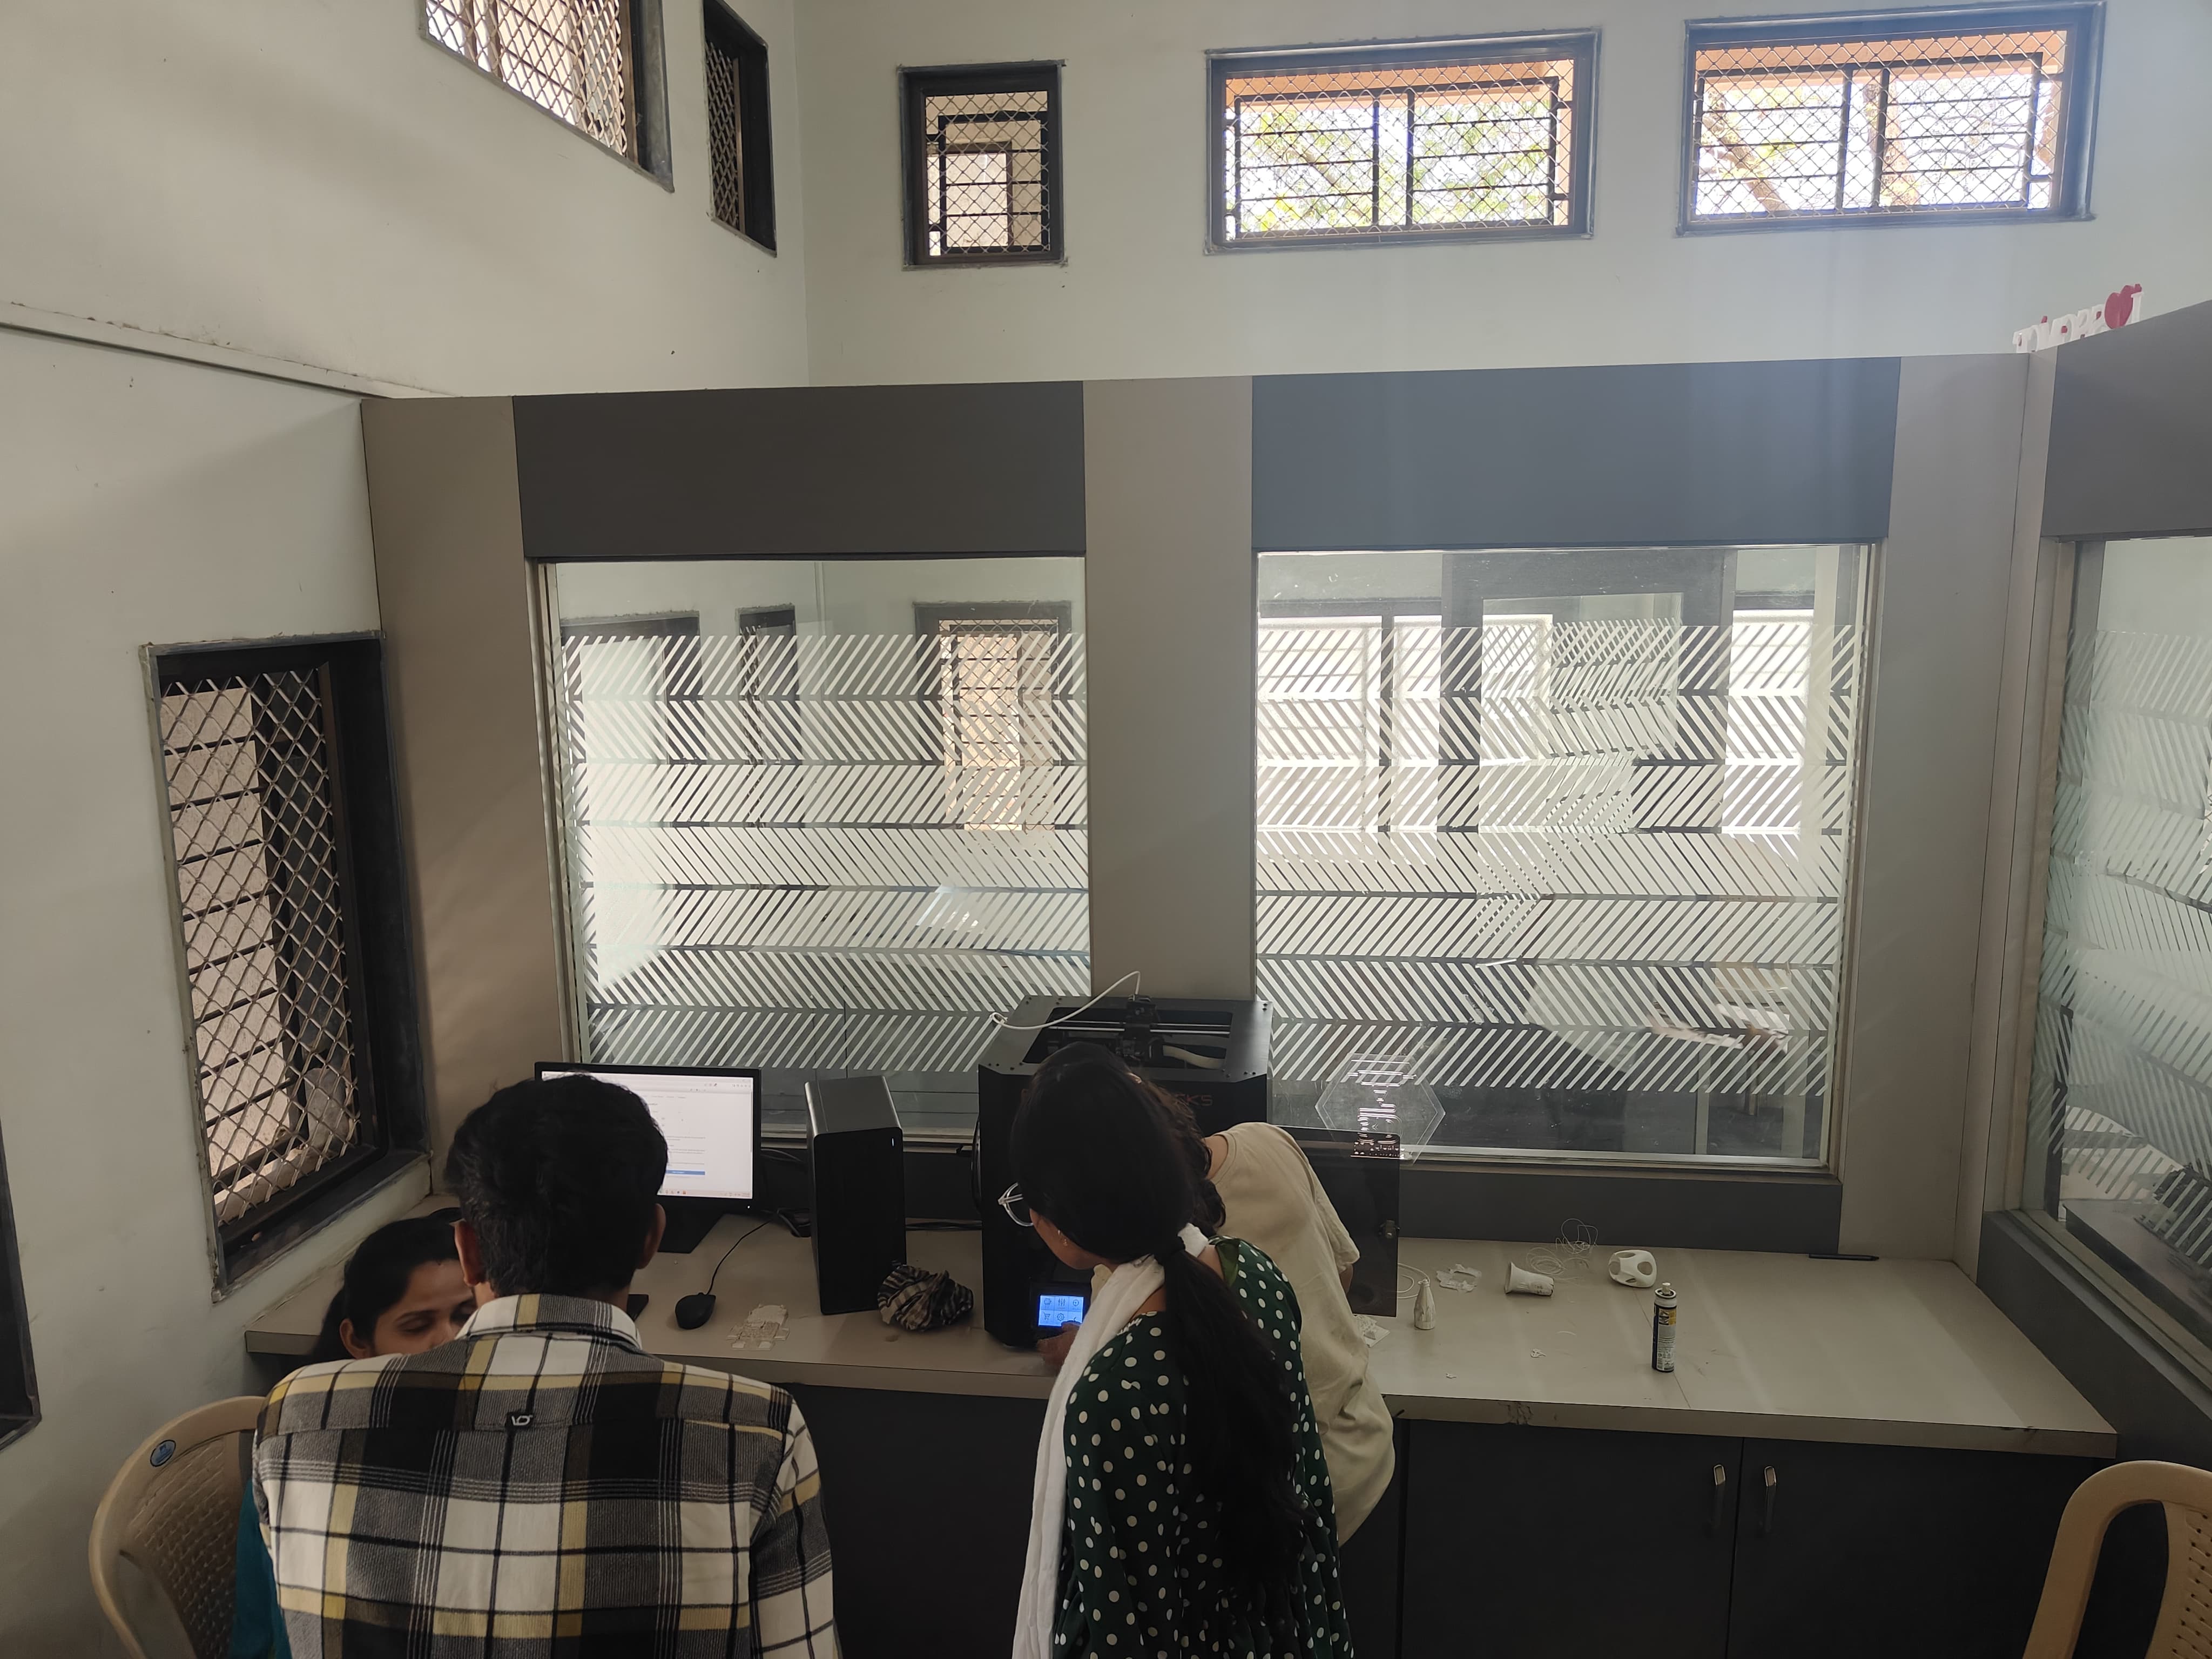
Watch a video or demo of a 3D printer in action to understand the complete printing process.
Additive Manufacturing
Building objects layer by layer rather than subtracting material.
FDM Technology
Fused Deposition Modeling - most common for hobbyists and beginners.
Printer Mechanics
Understanding how all components work together for successful printing.
Day 2: Materials & Safety
Filaments and Safety Precautions
Learn about different filaments and understand which to use for various applications.
Common Filament Types:
- PLA (Polylactic Acid) - Easy to print, biodegradable, low warping
- ABS (Acrylonitrile Butadiene Styrene) - Strong, durable, requires heated bed
- PETG (Polyethylene Terephthalate Glycol) - Strong, flexible, food-safe
- TPU (Thermoplastic Polyurethane) - Flexible, rubber-like material
Bed Adhesion Methods:
- Blue painter's tape
- Glue stick
- Specialized build plate surfaces
- Heated bed with proper temperature settings
Safety Precautions:
- Hot nozzle can cause burns - never touch during operation
- Moving parts can pinch - keep hands clear during printing
- Proper ventilation needed, especially with ABS filament
- Fire safety - never leave printer unattended for long periods
Day 3: Introduction to CAD & STL Files
3D Design and File Preparation
Learn basics of 3D design software and understand the STL file format used for 3D printing.
CAD Software Options:
- TinkerCAD - Browser-based, perfect for beginners
- Fusion 360 - Professional-grade, free for students/hobbyists
- Blender - Powerful for organic modeling and animation
- FreeCAD - Open-source parametric modeler
STL File Format:
STL (Stereolithography) is the standard file format for 3D printing. It represents the surface geometry of a 3D object using triangles.
Practice Resources:
- Download free 3D models from Thingiverse and Printables
- Follow beginner tutorials for your chosen CAD software
- Start with simple objects like keychains or basic geometric shapes
- Learn to export models as STL files with proper settings
Day 4: Slicing Software
Converting Models to Printable Instructions
Learn what a slicer is and how it converts STL files into G-code that printers understand.
Popular Slicing Software:
- Ultimaker Cura - Most popular, user-friendly, regularly updated
- PrusaSlicer - Excellent for Prusa printers, great features
- Simplify3D - Premium option with advanced capabilities
Key Slicing Settings:
- Layer Height - Thickness of each printed layer (affects detail vs. speed)
- Infill Percentage - Density of the internal structure (affects strength and material usage)
- Supports - Structures to print under overhanging parts
- Print Speed & Temperature - Optimization for different filaments
Use the preview feature in your slicer to visualize the toolpaths before printing, which helps identify potential issues.
Day 5: First Print & Calibration
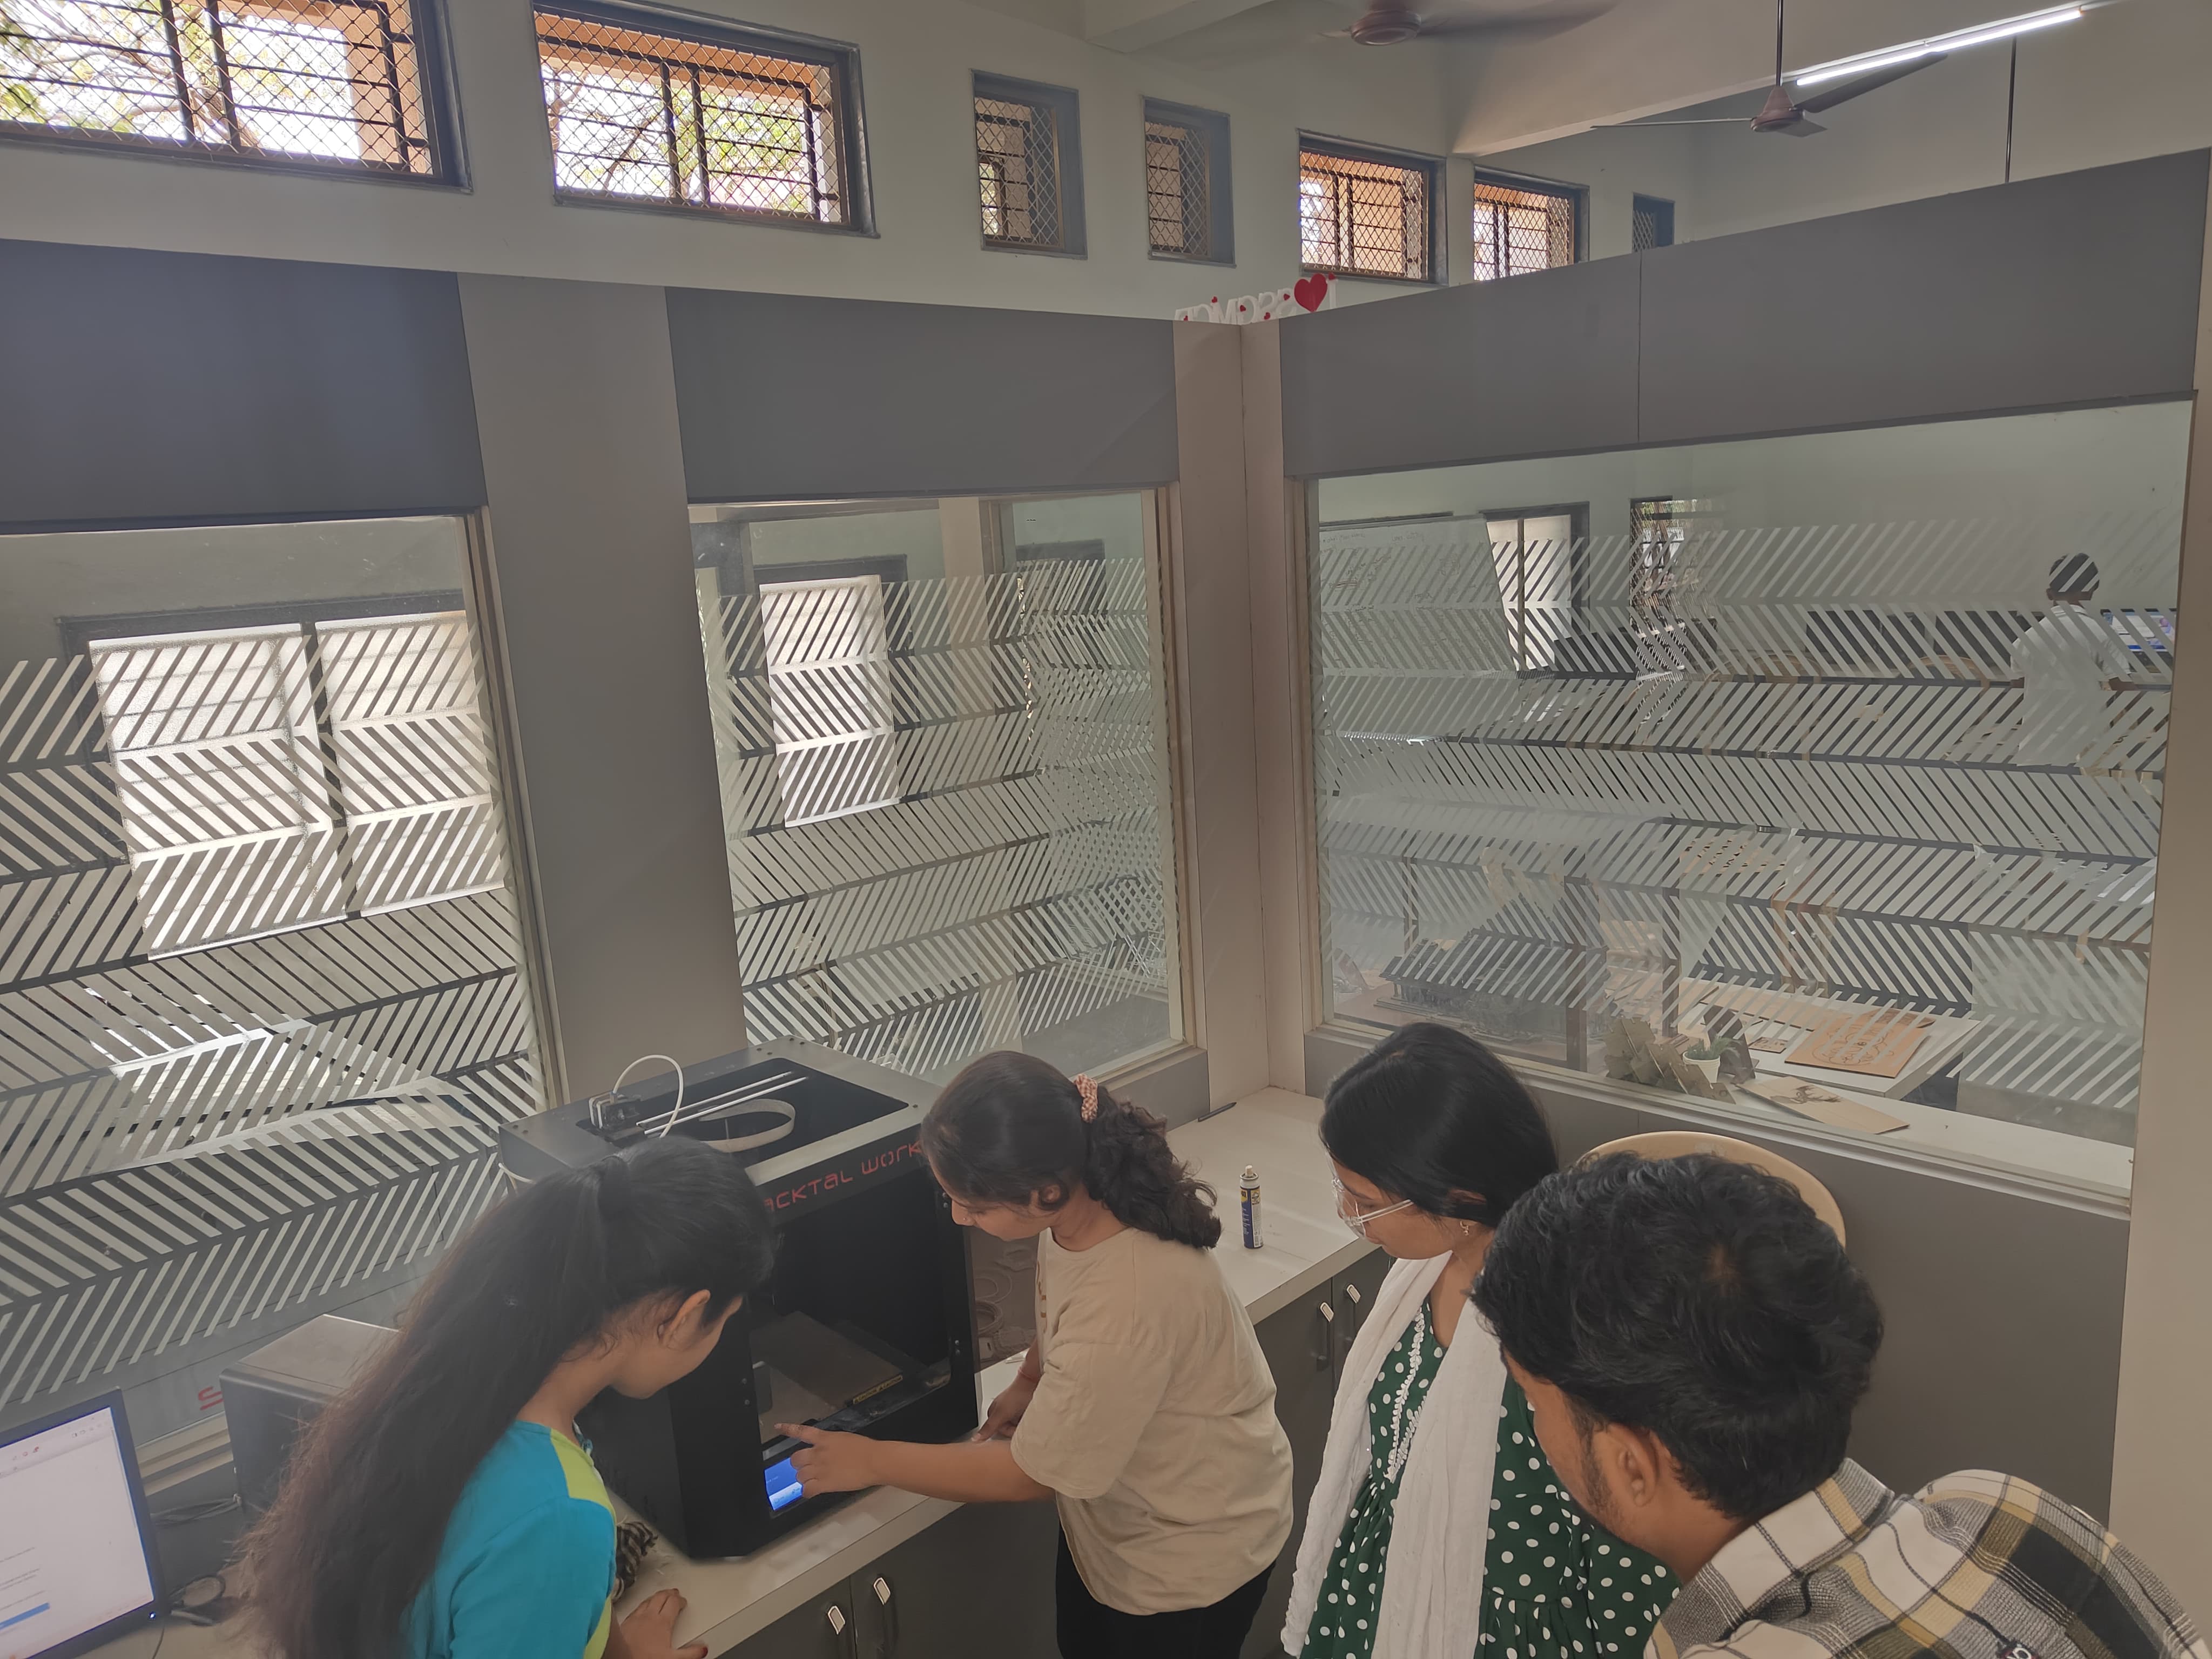
Hands-on Printing Experience
Learn about bed leveling and why it's critical for successful 3D printing.
Calibration Steps:
- Adjust nozzle height and bed surface for proper first layer adhesion
- Use a piece of paper to gauge the distance between nozzle and bed
- Check leveling at multiple points across the print bed
- Ensure consistent distance across the entire printing surface
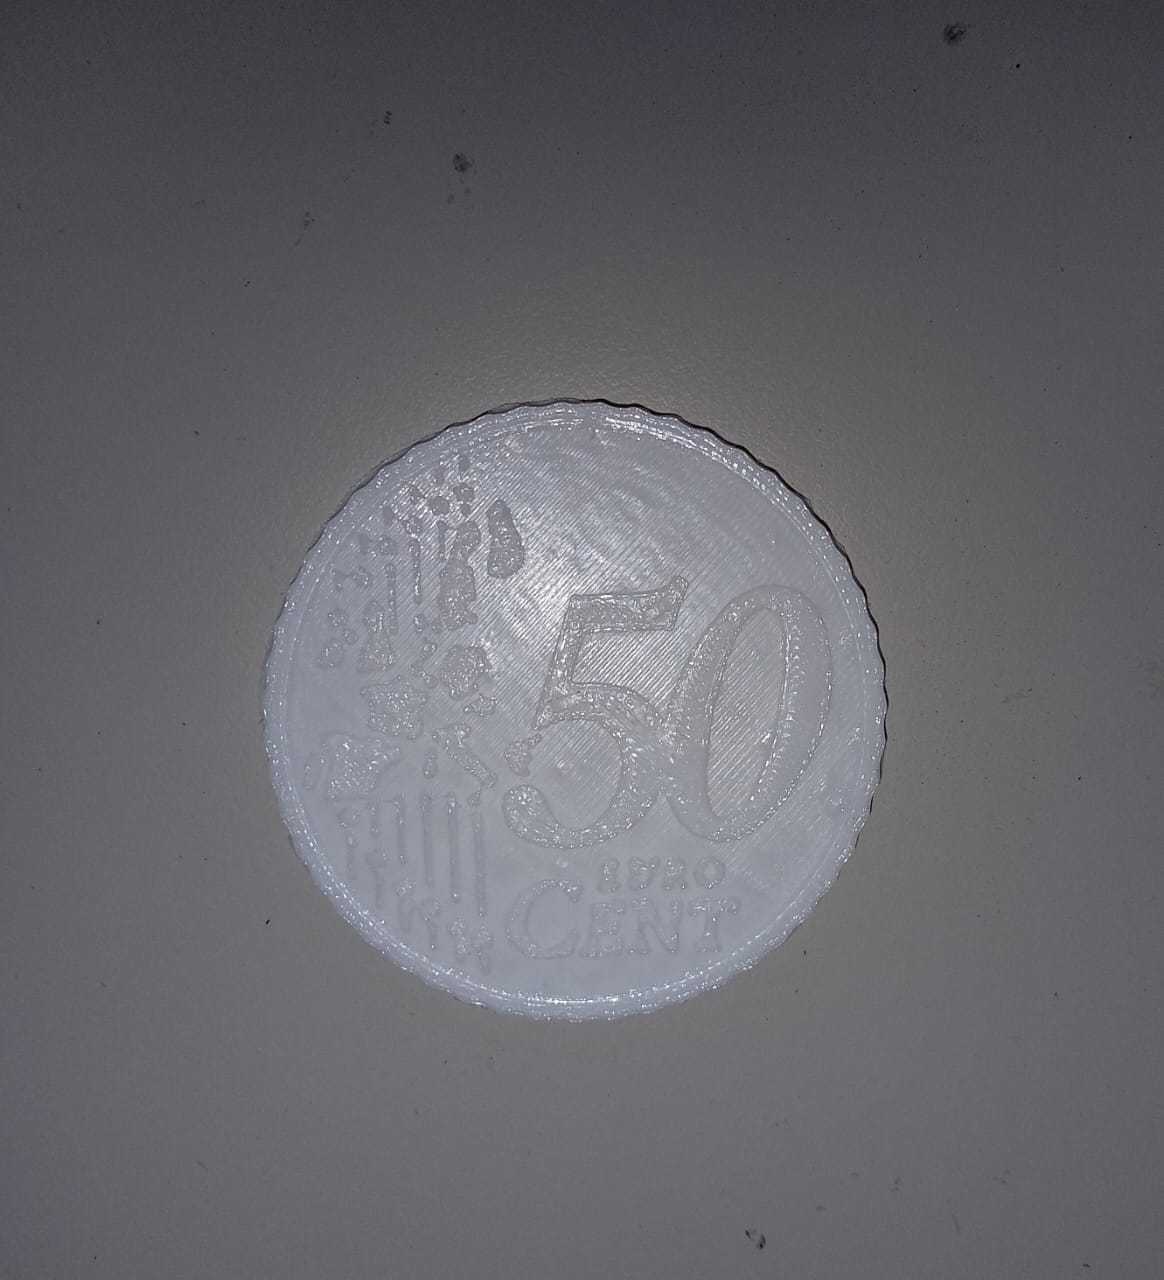
First Test Prints:
- Calibration Cube - Tests dimensional accuracy
- Benchy - The classic 3D printer test model that checks many parameters
- Temperature Tower - Helps find optimal printing temperature for your filament
Common Issues to Observe:
- Warping - Corners lifting from the print bed
- Stringing - Thin strands of plastic between parts of the print
- Under-extrusion - Not enough filament being deposited
- Layer shifting - Misalignment between layers
Day 6: Troubleshooting & Print Quality
Problem Solving for Better Results
Learn to identify and fix common 3D printing problems to improve print quality.
Common Problems & Solutions:
- Bed adhesion issues → Adjust leveling, increase bed temperature, use adhesion aids
- Stringing → Lower printing temperature, enable retraction settings
- Layer shifting → Tighten belts, check for obstructions, reduce print speed
- Under-extrusion → Check for nozzle clogs, increase temperature, calibrate extruder
Quality Improvement Techniques:
- Experiment with different print speeds for various parts of the model
- Adjust infill percentage based on the object's purpose
- Use support structures strategically for complex geometries
- Try different layer heights to balance detail vs. print time
Keep a printing journal to document settings and results for future reference.
Day 7: Post-processing & Advanced Learning
Finishing Techniques and Future Directions
Learn post-processing techniques to improve the appearance and functionality of your prints.
Post-processing Methods:
- Sanding - Smooth layer lines with progressively finer grit sandpaper
- Painting - Use primers and paints designed for plastics
- Acetone smoothing - For ABS prints (use with proper ventilation)
- Filling - Use fillers to hide layer lines before painting
Advanced Filaments to Explore:
- Wood-fill - Contains wood fibers, can be sanded and stained
- Carbon-fiber - Extremely strong and rigid
- Flexible TPU - Rubber-like material for flexible parts
- PETG - Strong, durable, and easier to print than ABS
Final Project:
Print a useful object that incorporates what you've learned - such as a phone stand, tool holder, or custom keychain.
Future Learning Paths:
- Explore multi-material printing
- Learn about resin (SLA/DLP) printing for high-detail models
- Experiment with advanced CAD techniques
- Join 3D printing communities for ongoing learning
Learning Outcomes
Skills Developed Through the 7-Day Module
- Use slicing software independently for any model with appropriate settings
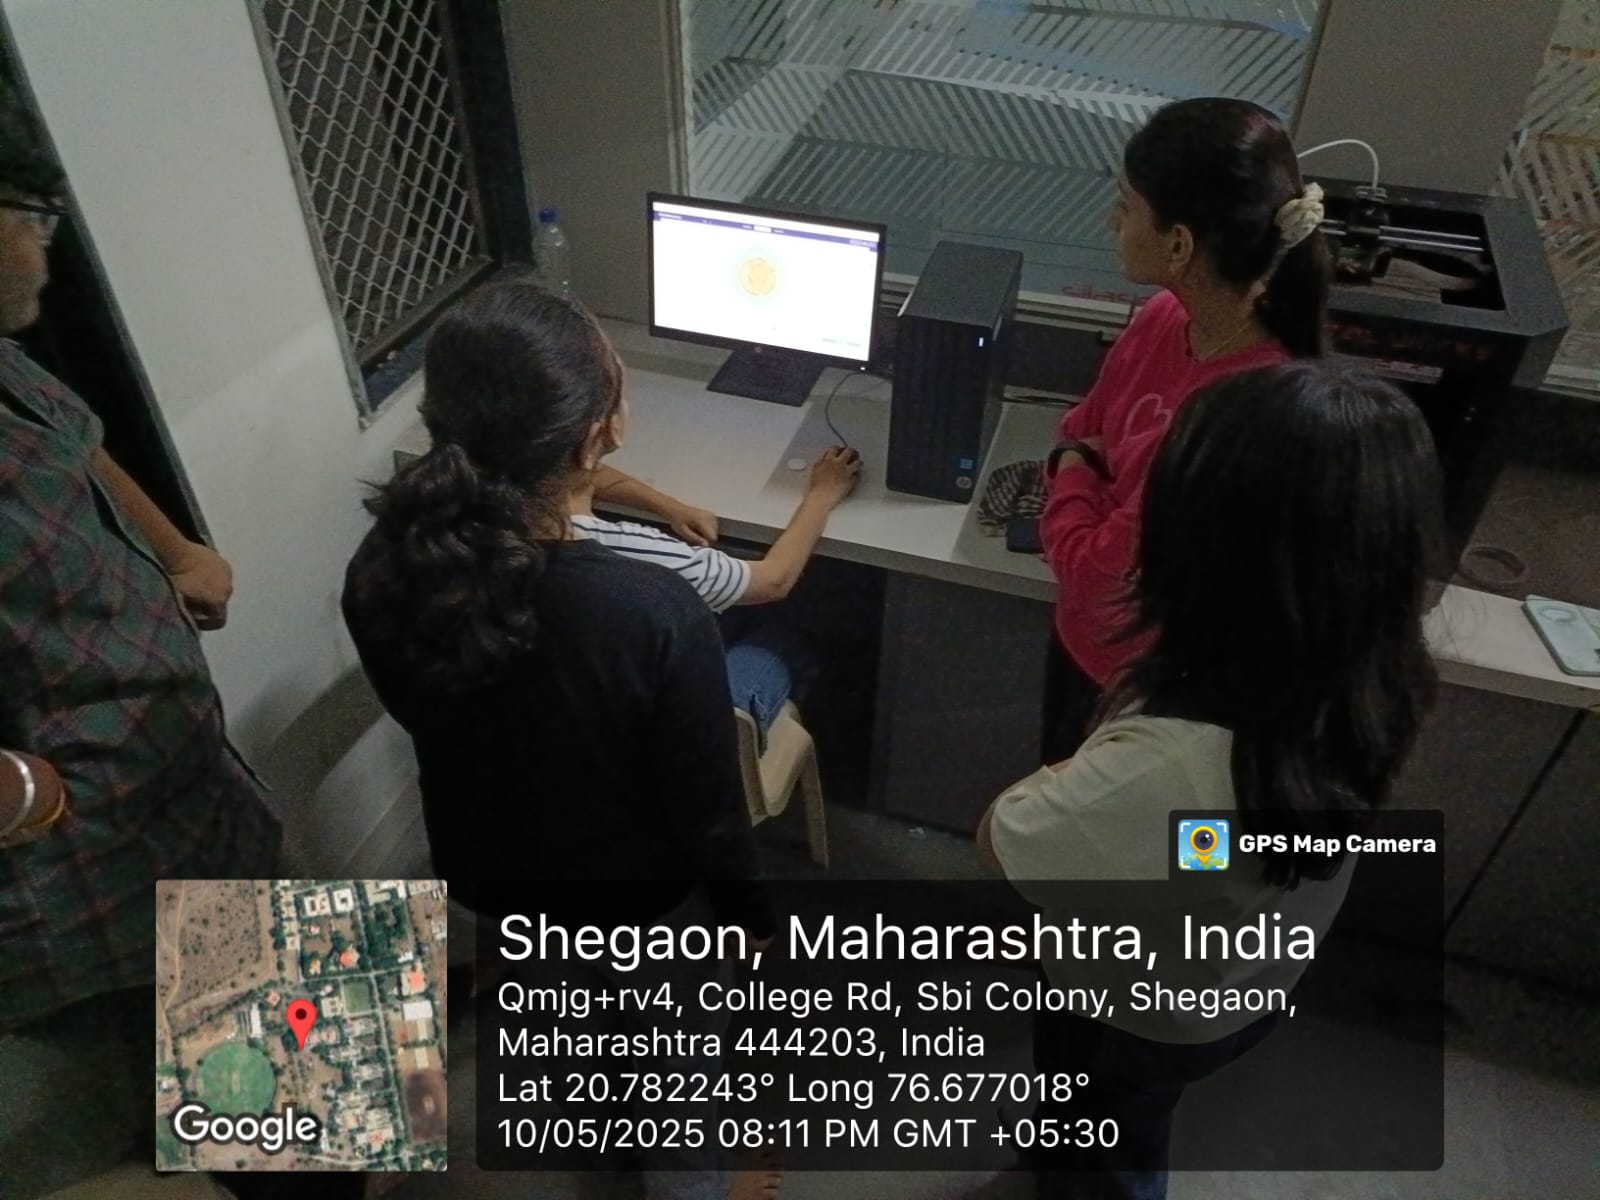
- Operate advanced 3D printers with touch and remote interfaces confidently
- Plan a print from start to finish with minimal supervision
- Understand the connection between digital design and physical prototyping
- Troubleshoot common printing issues and implement solutions
- Select appropriate materials and settings for different printing projects
- Apply post-processing techniques to improve print quality
- Design simple 3D models or modify existing ones for printing
Mentor
Module Instructor
With extensive experience in additive manufacturing and digital fabrication, Rahul guided students through the complete 3D printing workflow from design to finished object.